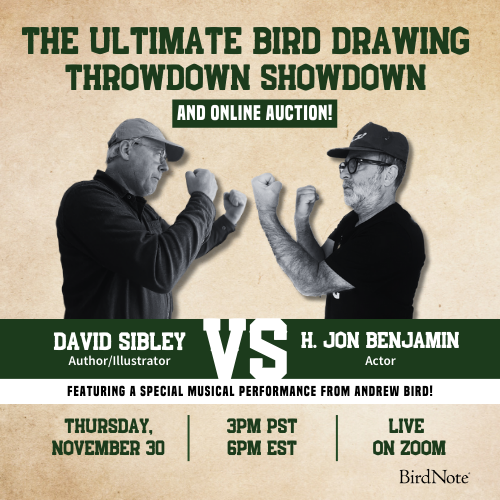

Join BirdNote tomorrow, November 30th!
Illustrator David Sibley and actor H. Jon Benjamin will face off in the bird illustration battle of the century during BirdNote's Year-end Celebration and Auction!
Study the native birds of Washington and present findings to the school community.
A three-month unit for fourth graders
|  |  | ||
| Summary | Lesson Plan | Resources |
Summary
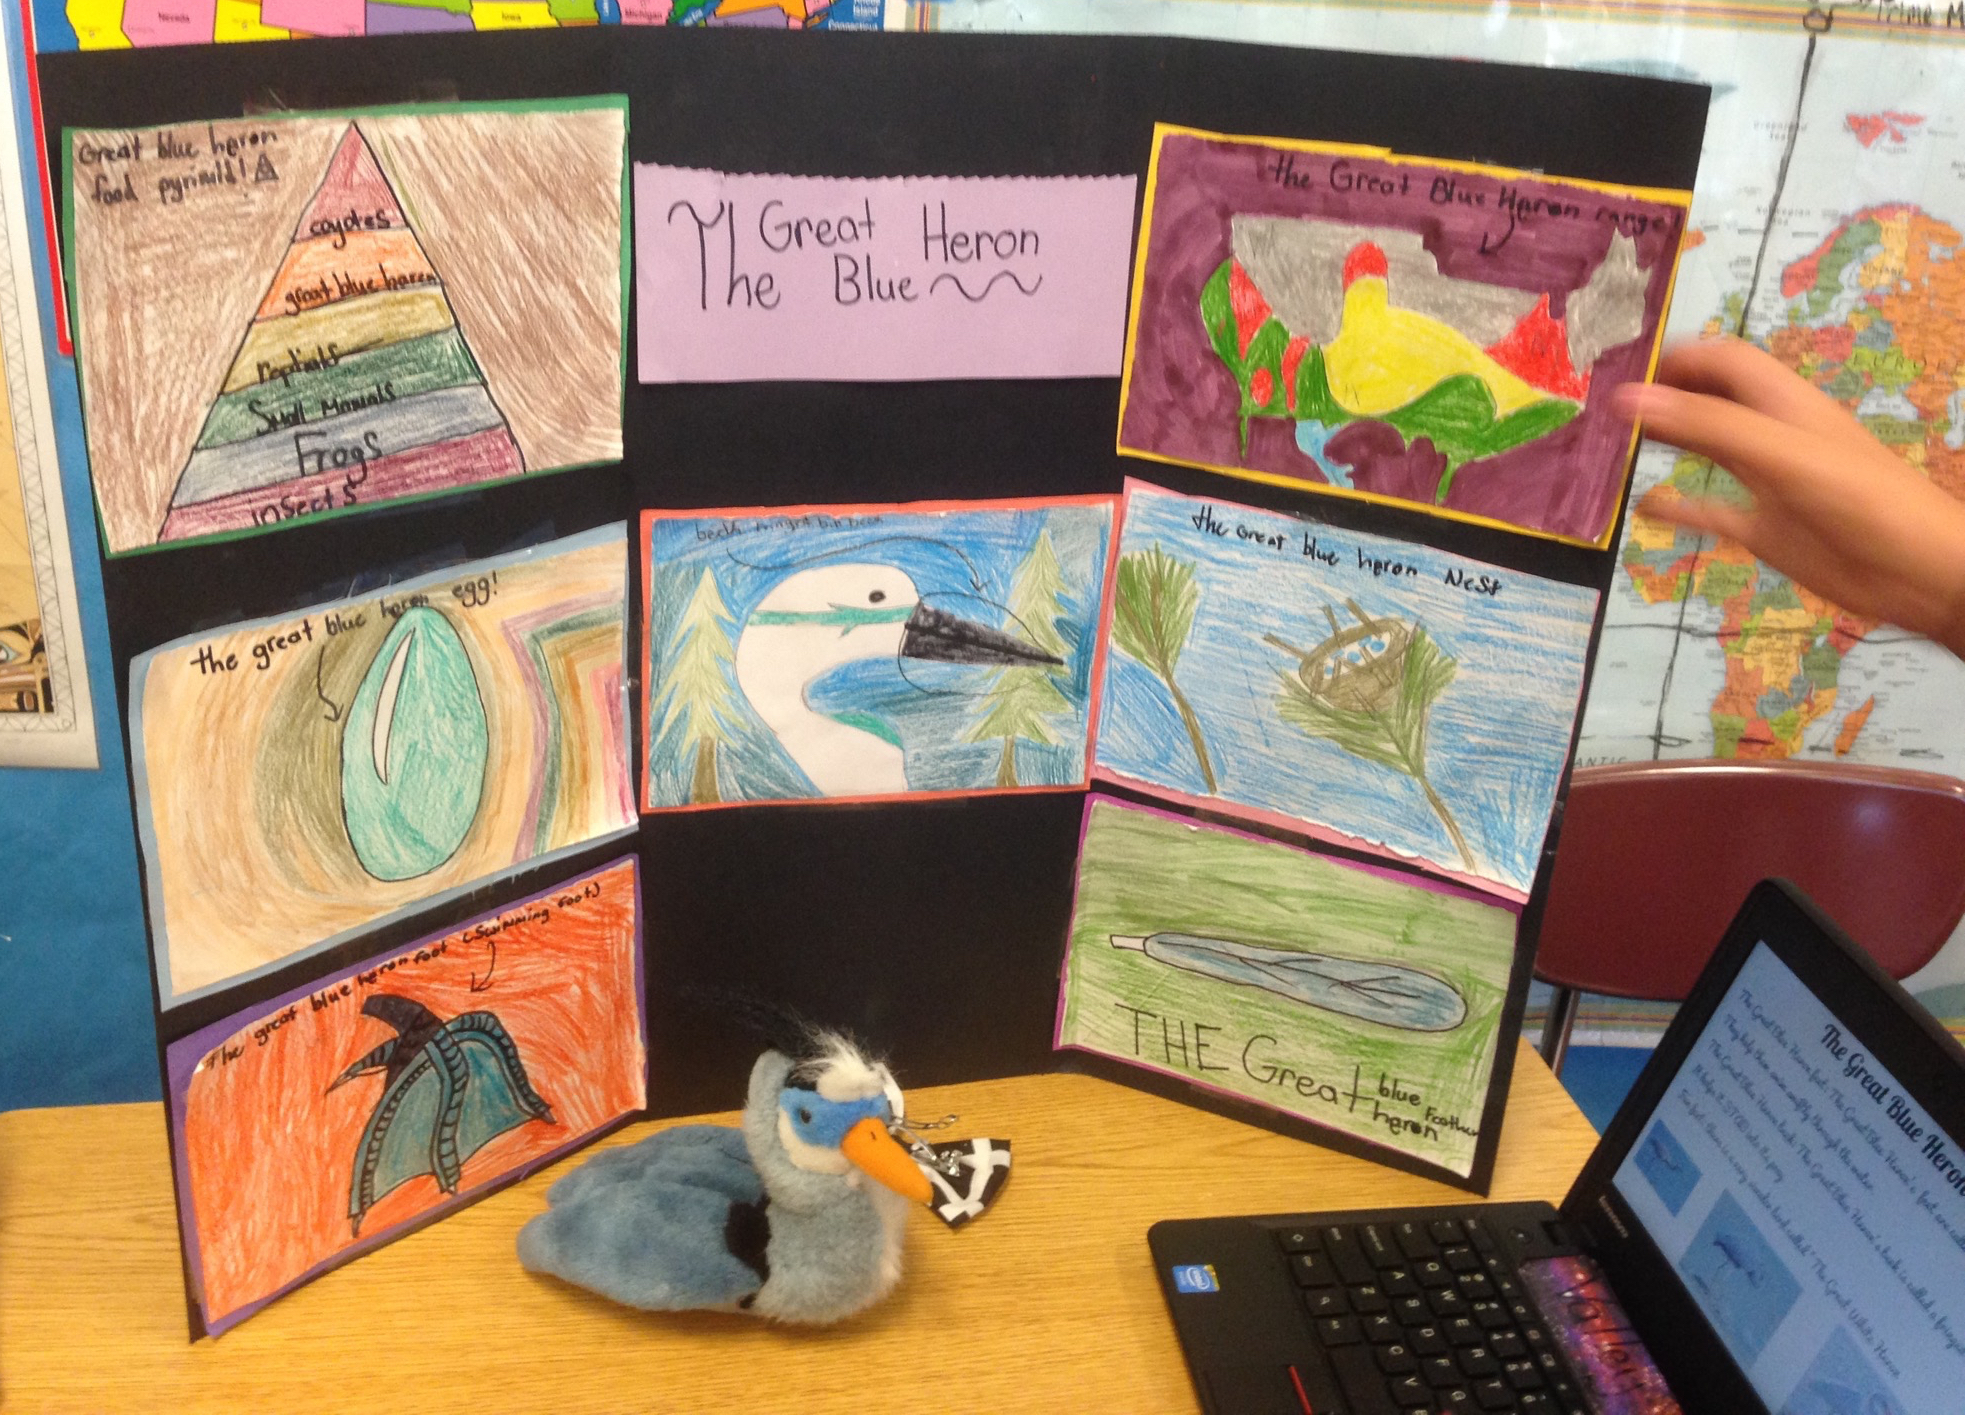
Students study native birds of Washington State and complete both individual and group projects. Unit work allows students to use many skills, including researching in books and online, using computers and software, writing, drawing, sculpting, painting, presenting to classes, etc. Students choose a native bird of Washington to study. They research specific questions about their bird including habitat, food source, beaks, feathers, nest, range, etc. Each student keeps a science journal recording discoveries and drawings and creates a tri-board of information on the bird. Students also work in small groups to create technology presentations using Google Slides to display information on their birds. At the end of the unit, students will present their projects over two days.
Day 1: Each student shares the individual bird project tri-board with the school and outside community in an open house.
Day 2: Each small group of students presents their technology project to other classrooms in a teaching day for the school.
Title: Birds of Washington State
Duration: 3 months
Setting: classroom
Subject Areas: Reading, Writing, Math, Science, Social Studies, Art, Technology, Communication, Presentation
Grade Level: 4 (can be adapted for other grade levels)
Next Generation Science Standards: includes concepts from life sciences, earth science, engineering and design, and application of engineering and design concepts
Common Core Standards: covers many common core standards for the subject areas listed above
Lesson Objectives:
* Students will each choose one native bird of Washington to study and record findings and scientific drawings in a journal.
* Students will each create a tri-board display of information on his/her bird and present the tri-boards in an open house.
* Students will work in a small group to create a technology presentation and present their project to other classes.
How BirdNote Is Used: A BirdNote podcast is played each day so the students learn about birds. The BirdNote website is used for research
Materials: small plush toy birds (all native to Washington State) from Audubon, a “science journal” notebook for each student, natural history items, e.g., bird skins in tubes, eggs, and feathers (this class used “Burke Boxes” loaned by the local Burke Museum), fine point Sharpies for drawing, watercolors, watercolor paper, white construction paper, air-dry clay and paints, black poster board (one per student), bird books, computers
Lesson Plan
 This unit of study is planned to extend over three months and is divided into many lessons, but it could easily be revised to modify the activities and time required. Although the following activities, discussions, and videos suggested are for fourth-grade elementary students, alternatives could be chosen to adapt this unit for older or younger students. The unit could also be adapted for use in other states.
Motivate: These activities can be used before or among the numbered lessons as appropriate.
* Watch videos about birds and the environment on YouTube, Vimeo, or other websites, e.g., “Silent Spring” and “Garbage Island.”
* Introduce and discuss the five groups of vertebrates (fish, amphibians, reptiles, birds, and mammals). What are characteristics that all birds have?
* Show “Introduction to Ecology," and have students write down 3-5 of the facts presented in the video.
* Invite outside presenter to bring in live birds, talk about them, and answer questions. (Zoos or bird advocacy groups often have a presentation program.)
* Watch live webcams online. Good ones can be found on many websites, e.g., Cornell Laboratory Bird Cams and Washington Department of Fish and Wildlife.
* Lead students on bird walks in your schoolyard; have them record in their journals what birds they see and hear.
Teach: The following lessons are listed as presented but could be re-ordered, combined, or some omitted.
Lesson 1: Brainstorm with the students about their knowledge of birds.
* Create a KWL chart (K - what you Know, W - what you Want to know, L - what you Learned).
* Discuss the different types of birds, e.g., backyard, song, prey, water, forest, mountain, and desert. Ask and discuss: What do all birds have in common? How are the types of birds different? (Rather than a “scientific” classification of birds, make these labels understandable for the students, leading to easy discussion. You can adapt to more scientific divisions with older students.)
Lesson 2: Help students classify Washington State birds into the types discussed (some may overlap).
* Show students the plush toy birds from Audubon (all native to Washington State).
* Have students classify the birds into the above types while reviewing traits of those groups.
Lesson 3: Ask students to research birds that they would like to study.
* Then have a gallery walk of birds (use plush toys or photos).
* Have students write down their top three choices on a piece of paper.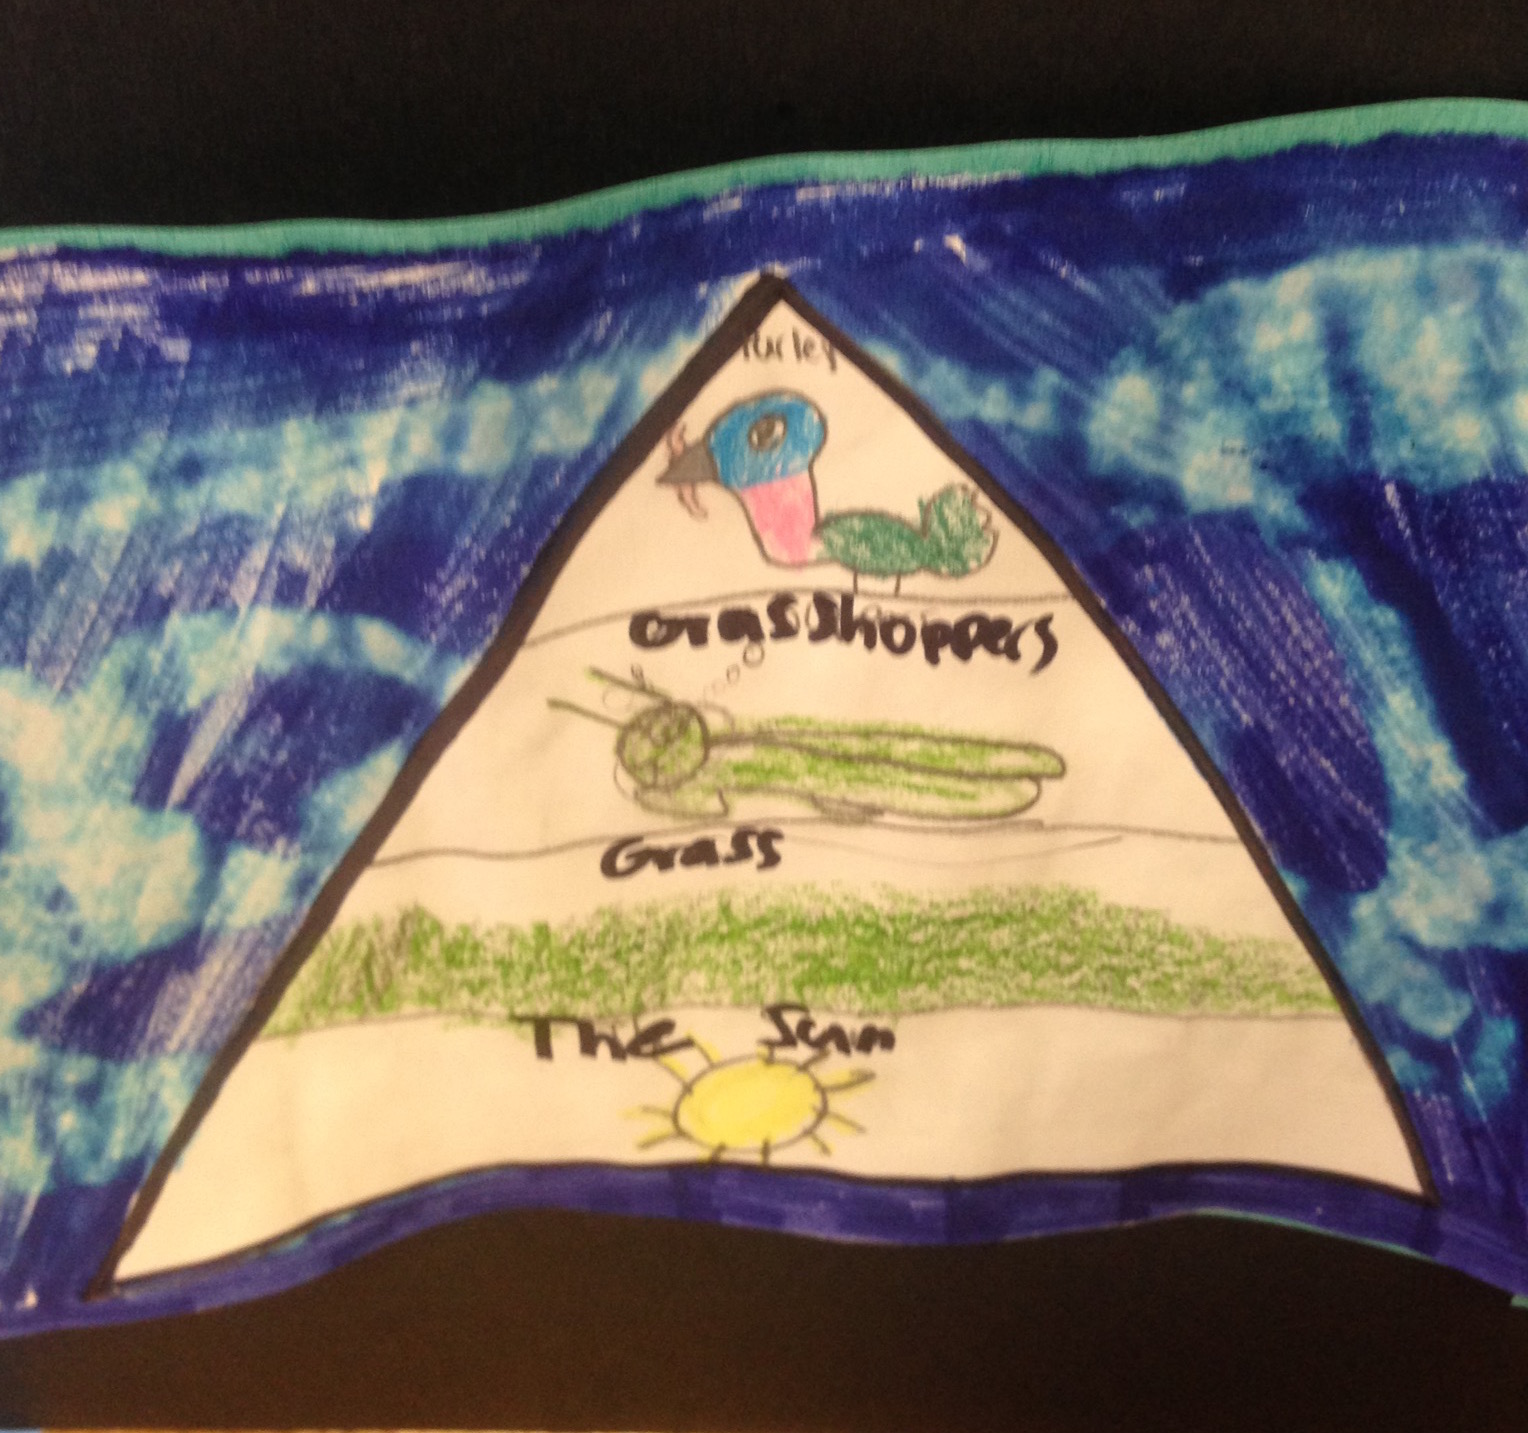 Lesson 4: Give each student a bird of study for the unit, attempting to assign one of the student’s three choices.
* Present each student with the Audubon bird toy matching the assigned bird.
* Tell students to research three or more facts about their bird using books and internet.
Lesson 5: Present pictures of types of beaks (hooked, cone, tubular, chisel, pointed, and fringed).
* Ask and discuss why birds might have evolved different types of beaks.
* Ask students to search for posters of beak types and determine what type of beak their bird has.
* Direct students to create a scientific drawing (color and outline with Sharpie) in their science journal.
* Ask students to do a final drawing on a 4x6" piece of white construction paper.
* Collect these drawings and save them for the creation of tri-boards near the end of the unit.
Lesson 6: Present pictures of types of bird feet (grasping, 3-toed, running, perching, scratching, swimming, or climbing).
* Ask and discuss why birds might have evolved different types of feet.
* Ask students to determine the type of feet their birds have.
* Assign scientific drawing and final drawing, then collect as in Lesson 5.
Lesson 7: Show students the video “Food Web” on YouTube, featuring Bill Nye.
* Have students note 3-5 facts from the video while viewing it.
* Ask students to add those notes to their scientific journal.
* Discuss definitions of herbivore, omnivore, and carnivore.
Lesson 8: Discuss food sources for birds.
* What does your bird eat? How does that relate to its beak shape? To its feet?
* Make a drawing of the foods your bird eats.
* Assign final drawing and collect as in Lesson 5.
Lesson 9: Show an example of a food pyramid and discuss.
* Direct students to draw a food pyramid for their birds.
* Then assign final drawing and collect as in Lesson 5.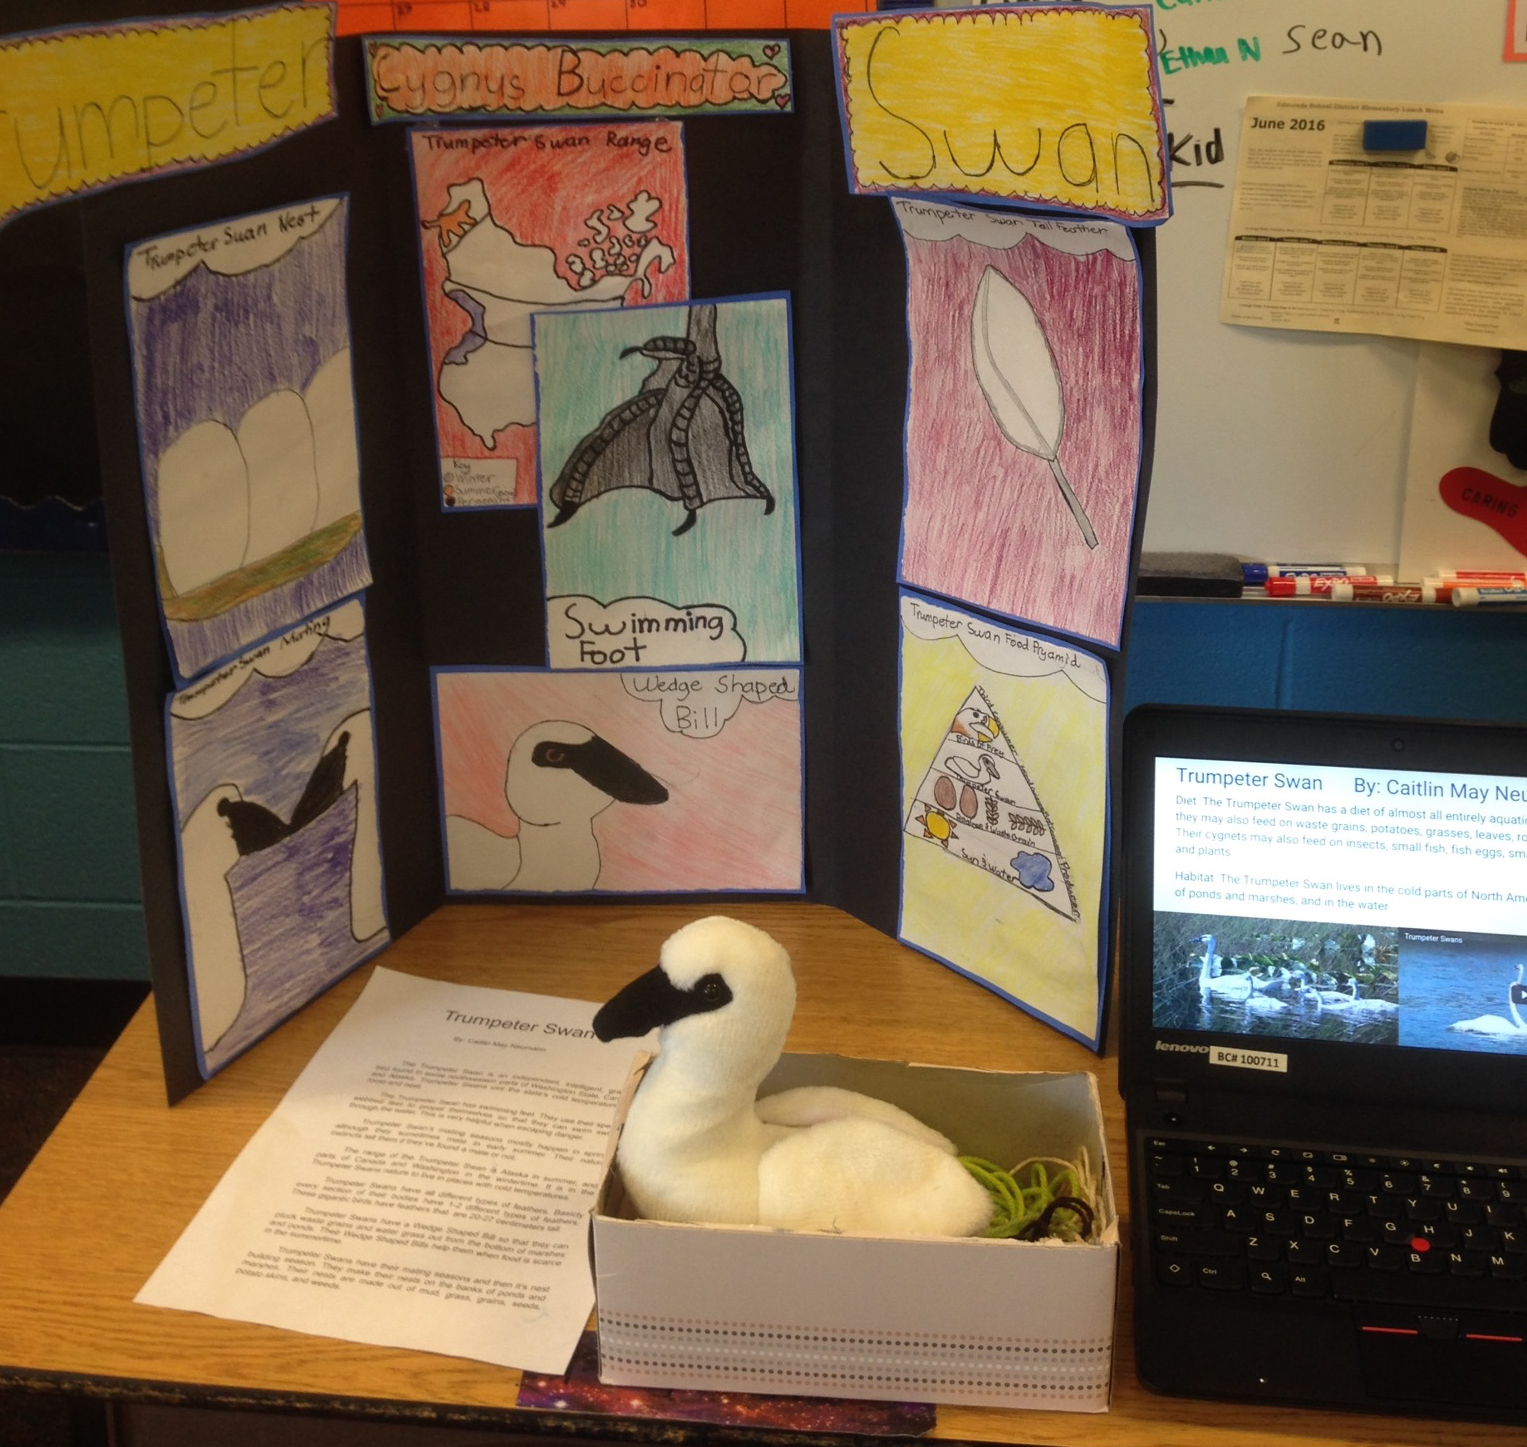 Lesson 10: Look at photos and discuss birds’ eyes.
* Ask and discuss why birds have evolved different types of eyes.
* What are your bird’s eyes like? Color? Shape? Size?
* Assign scientific drawing and final drawing, then collect as in Lesson 5.
Lesson 11: Look at photos and discuss bird feathers and markings.
* Ask and discuss why birds have evolved different shapes and colors of feathers.
* What are your bird’s feathers like? Colors? Shapes? Markings?
* Assign scientific drawing and final drawing, then collect as in Lesson 5.
Lesson 12: Look at photos and discuss bird nests.
* Ask and discuss why birds make different types of nests.
* What is your bird’s nest like? What size, shape, materials?
* Assign scientific drawing and final drawing, then collect as in Lesson 5.
Lesson 13: Look at photos and discuss bird eggs.
* Ask and discuss why birds produce different sizes and colors of eggs.
* What are your bird’s eggs like? Size, shape, color?
* Assign scientific drawing and final drawing, then collect as in Lesson 5.
Lesson 14: Look at bird range maps and discuss the concept of range.
* What does range mean? Discuss why birds have different ranges.
* What is your bird’s range? Where does your bird live in Washington State?
* Draw a map of your bird’s range.
* Assign scientific drawing and final drawing, then collect as in Lesson 5.
Lesson 15: Discuss habitat types.
* Ask and discuss why birds live in different habitats.
* What is your bird’s habitat?
* Create a watercolor of your bird in its habitat.
Lesson 16: Students create sculptures of their birds.
* Have students review their journal drawings of their bird’s feathers, beak, and feet.
* Observe the plush toy bird for shape, color, and markings.
* Create a sculpture of the bird using air-dry clay (or papier maché) and paints.
Lesson 17: Give each student a tri-board of folded black poster board to assemble their displays.
* Have students create a banner with the bird name as title for the display.
* Give students their collected drawings on construction paper to add to the display.
* Tell students to arrange and glue the drawings onto the display board.
Lesson 18: Divide class into small groups and assign each group the task of creating a technology presentation using Google Slides.
* Try to vary the types of bird represented in each group (e.g., raptor, songbird, water bird).
* Teach or use a Google Slides tutorial to help students learn how to use Google Slides.
* Each student will create two Google Slides about their bird, highlighting all of the research information.
* The group will synthesize their presentation using the collection of slides and adding live sounds and video as they wish.
Lesson 19: Each small group does a practice presentation in their own classroom.
Presentation Days: The study unit culminates in two days of presentations.
Day 1: Each student will present their individual bird project tri-board to the school community and other visitors in an open house. The teacher will invite school staff, families, friends, and other community members to the open house. Students stand by their tri-board display, talk about their research, and answer questions about their bird as visitors come by.
Day 2: Each small group of students will present their technology project of slides with information on their birds to other classrooms in a teaching day for the entire school. The teachers of those classes will grade groups on a presentation rubric including content, speaking, listening, and visual aids.
Resources
BirdNote
BirdNote podcasts
All About Birds - from Cornell Lab of Ornithology
Cornell Lab of Ornithology
Audubon Washington Birds
Seattle Audubon bird cams
Cornell Laboratory Bird Cams
"Food Web" video with Bill Nye
"Garbage Island" video
"Silent Spring" video
Google Slide tutorial
Do you have a lesson plan to share? Check out the guidelines, then download the submission form. Thank you!
